How to make a ribbon cable
If you’ve ever worked around computers, you have seen IDC ribbon cables before. They are extremely common. So when I saw that the SpeedVest required a 14-wire ribbon cable with a 2×7 female header, I figured that I could simply get one at RadioShack or order it online. Turns out, it is not so simple to get exactly what you want pre-made. There are many possible wire combinations, there are many possible headers, and of course the cable can be cut to any length. As a result, the standard method is to buy your own cable, cut it to size, and add the connectors yourself.
(I am sure there are cable companies out there that will make one for you as a special order. But I drew the line at paying for shipping and customization for something that should be very cheap.)
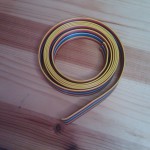
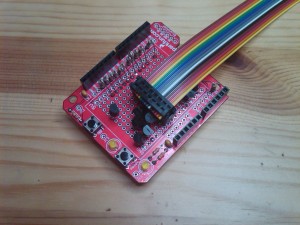
Fortunately, it is very easy to make a ribbon cable. Our goal: turn these
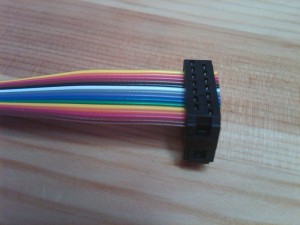
into this
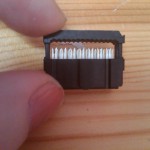
This was my introduction to the wonderful world of crimp connectors. If you think about it, connecting 14 wires securely and easily at both ends sounds like a difficult problem. Take a close look at the photo of the female header. You will see some very sharp pins inside of it. We will place the end of the cable inside there and push, or crimp, those pins through the insulated wires of the ribbon cable. This is done by applying pressure to the black plastic on top. Those pins will form the electrical connection.
If you are using a gray ribbon with red strip to mark the power supply (not relevant here), you will also want to follow the convention of aligning pin 1 of the header with the red strip. It is also to possible to buy fancier headers that enclose a loop of the cable for strain relief.
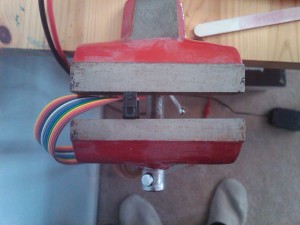
This is a very easy process, but to get good results the pressure must be even. A vise is recommended. Place the end of the cable inside the header. It can go beyond the end a bit, we can always trim later. Start to crimp the connector slightly with your fingers to hold it in place. Then put it in the vise. In this picture we are looking at the vise from the top.
Tighten the vise slowly and evenly until the connector is fully closed. And there you have it….your own cable.
Similar tricks apply for making ethernet cable if you get tired of paying BestBuy $30 for 6 feet of it.
[…] are many sites that show you how to make an ethernet cable, so I won’t repeat it here. When I made a ribbon cable I was impressed with the elegance and fool-proof nature of the connection. That was not the case […]
[…] The ribbon cable, by contrast, needed to be significantly shortened, so I cut it and crimped on a new connector. […]
How do I cut a ribbon cable and put a longer piece into it to make it longer ?????
You should be able to join two pieces of ribbon cable with the proper connector – hunt around DigiKey or Mouser. You will have to cut off the existing connector at the end you want to extend.